
Articles
What to check on your motorcycle before every ride
A quick walk around can catch a soft tyre, a fluid leak or a failed brake light before you leave. Here is a practical routine and the faults that mean the ride has to wait.
 fruskate
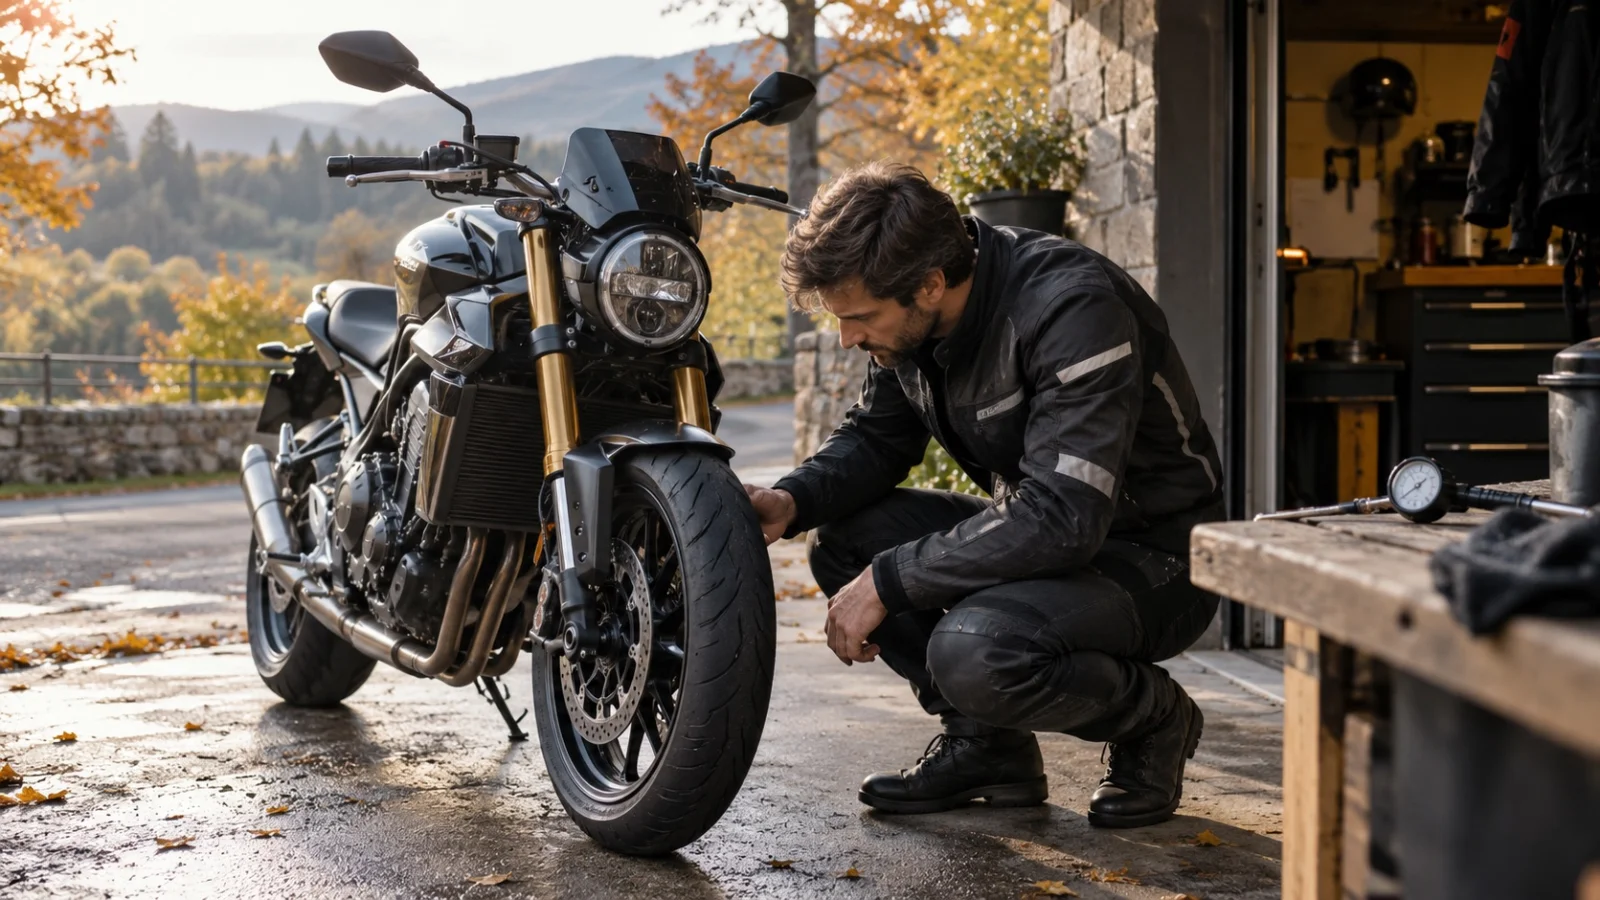
Your jacket is zipped, your friends are waiting and the starter button is tempting. That is often when the inspection gets skipped. Yesterday’s uneventful ride does not rule out a nail picked up on the way home or a brake light that has stopped working.
A pre-ride check is not a daily service. It is a way to notice changes before they become your problem in traffic. Walk around the bike in the same direction each time; a familiar sequence makes the rear wheel and sidestand harder to forget.
Start with tyres and brakes
Look at both tyres, including the sidewalls. Check for cuts, bulges, embedded objects and an obviously soft tyre. Use a gauge to check cold pressure against the motorcycle manufacturer’s setting for your load. Pressing a thumb into the tread is no substitute. Our cold-weather tyre pressure guide explains that check in more detail.
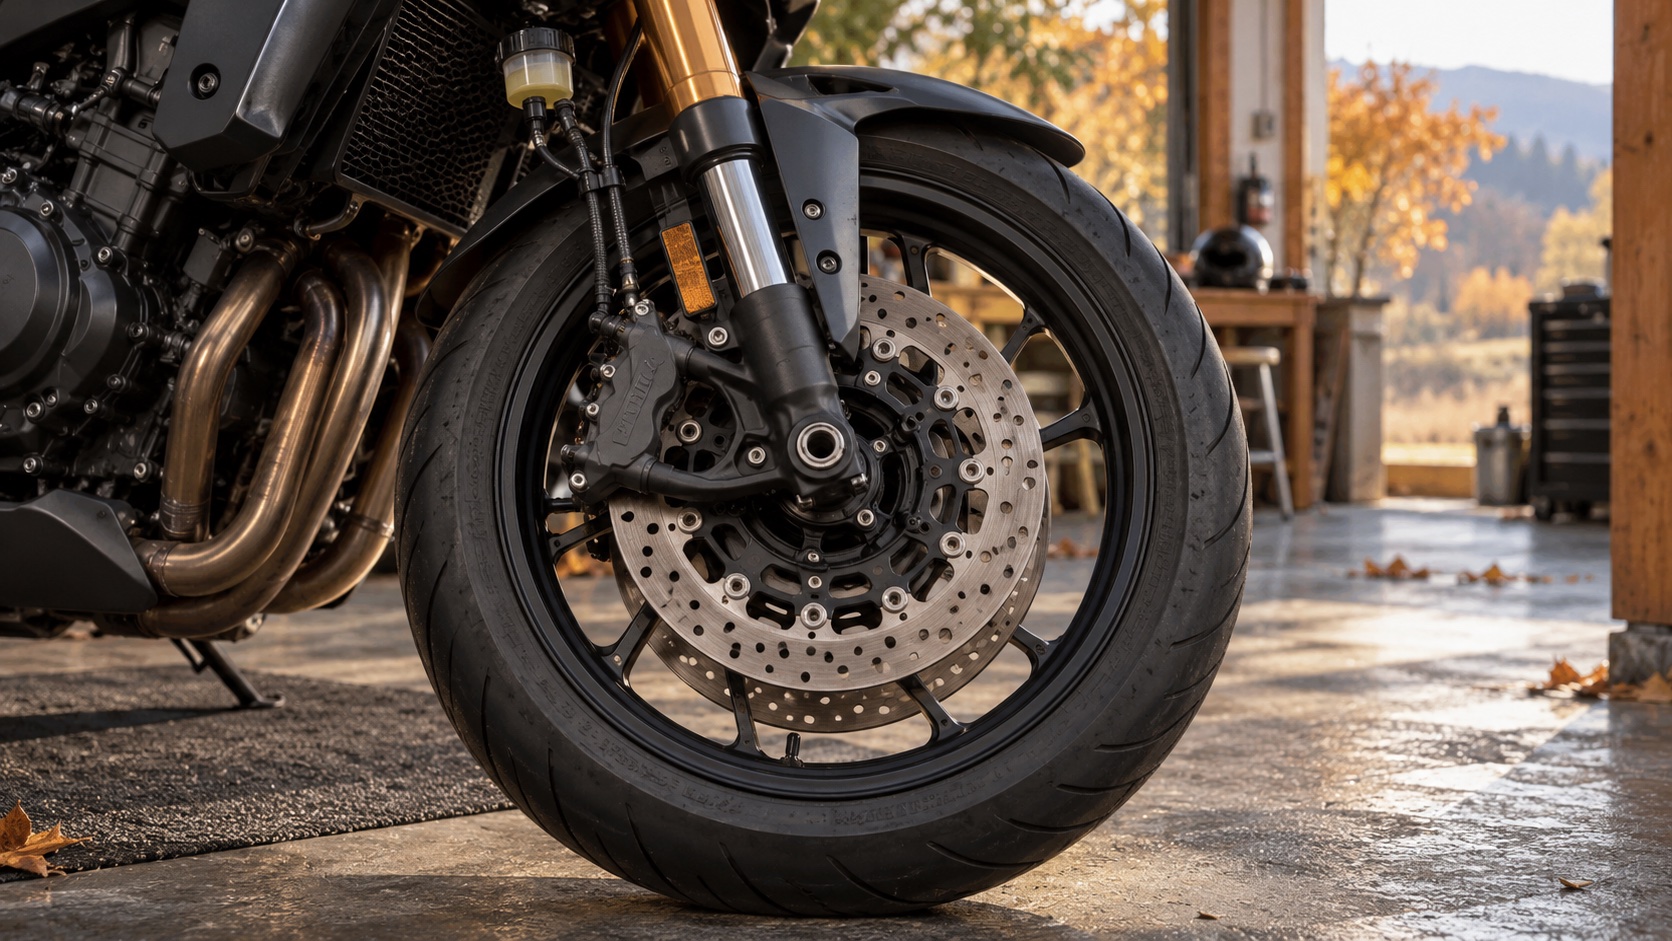
Look for leaks around the calipers and check the visible condition of the discs and pads. With the bike stationary and securely controlled, make sure each brake holds it against rolling. A lever that suddenly feels soft, travels much further than usual or accompanies a leak needs attention before departure.
Check controls and lights
With the engine off, turn the bars both ways. Cables and hoses should not catch, stretch or restrict steering. The throttle should move freely and return when released. A sticking throttle ends the inspection with a repair, not a ride.
Check the headlight, indicators and brake light, using each brake separately. Adjust the mirrors from the seat. Look for loose lever mounts and luggage straps that could reach a wheel. A wall reflection or a friend standing behind you makes the rear light easy to check.
Look underneath and at the drive
Fresh drops under the bike deserve a closer look. Check accessible oil, coolant and brake-fluid levels using your own manual. Oil-check procedures differ: bike position, engine temperature and waiting time matter. A glance at the sight glass while the bike leans on its stand can give the wrong answer.
Inspect the chain with the engine stopped and compare slack with the model’s specification. Tighter is not automatically better. Belt and shaft drives have their own checks. Make sure the stand retracts properly and its spring is intact.
Know when to postpone the ride
A fuel leak, damaged tyre, sticking throttle or uncertain braking means the fault must be resolved first. Riding to a workshop still exposes you to that fault; arrange transport when the bike cannot be ridden safely.
After storage, washing or maintenance, allow more time. Before an ordinary ride, build the walk around into the routine alongside your helmet and gloves. It is easier to keep a useful habit than to remember an unfamiliar checklist in a hurry.